Dragon Cavern
Items in this room:
Gold Coins: 8 | Keys: 1 | Potions: 1 | Gems: 0
We're in the home stretch! Head down the stairs to the Save Point. Look down at the pedestal on the left to spot the final Small Key hanging from it. And I guess now I can address the dragon in the room.
There's a dragon in the room. He's chained to a large glowing symbol on the wall, and is rightly upset about it. He'll growl and gnash his teeth, then jump and hover in the air for a moment. When he lands again, he'll spew forth a large just of flame. This is highly damaging and cannot be blocked by your Shield. If can, however, be blocked by standing behind the various fallen pillars and giant boulders. Each can block the flame twice before being destroyed (some of them only once in Hard mode), so don't camp behind them too many times.
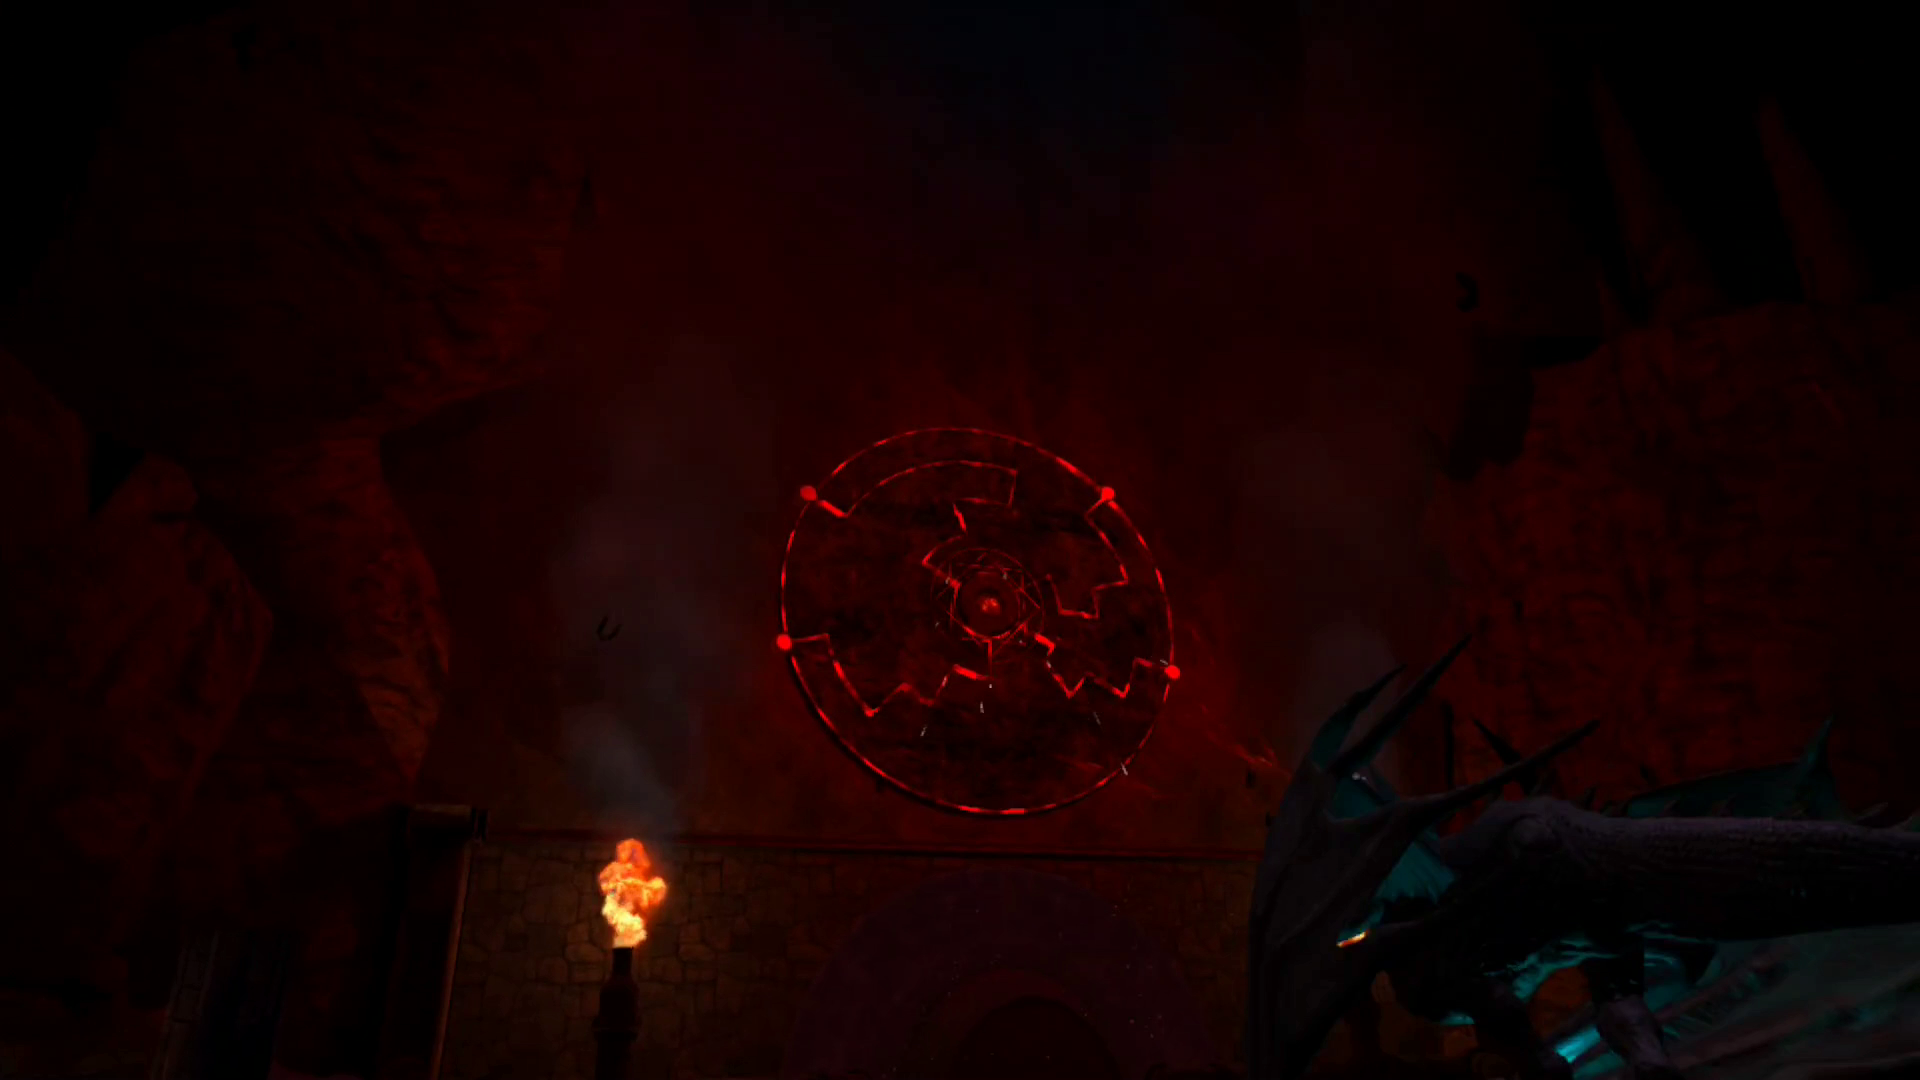
There are four pedestals with wheels on them placed along the pillar-strewn perimeter around the dragon. Each one can be turned to rotate a section of the symbol that he's chained to. The goal is to rotate each one to create a clear path between each points the chains are attached to. This will make more sense as you start moving the wheels around. From where you stand near the entrance:
- The front right wheel moves the upper left section of the symbol
- The back right wheel moves the upper right section of the symbol
- The back left wheel moves the center of the symbol
- The front right wheel moves the lower left section of the symbol.
Before getting started on those, follow the cavern wall to the right until you reach a deep recess. At the end of this section is a crate with Gold Coins and a chest containing a Red Potion. You can hide in here far enough back to avoid the fire if you need to. Once you have the extra health refill, start working on the wheels. The final symbol should look like this:
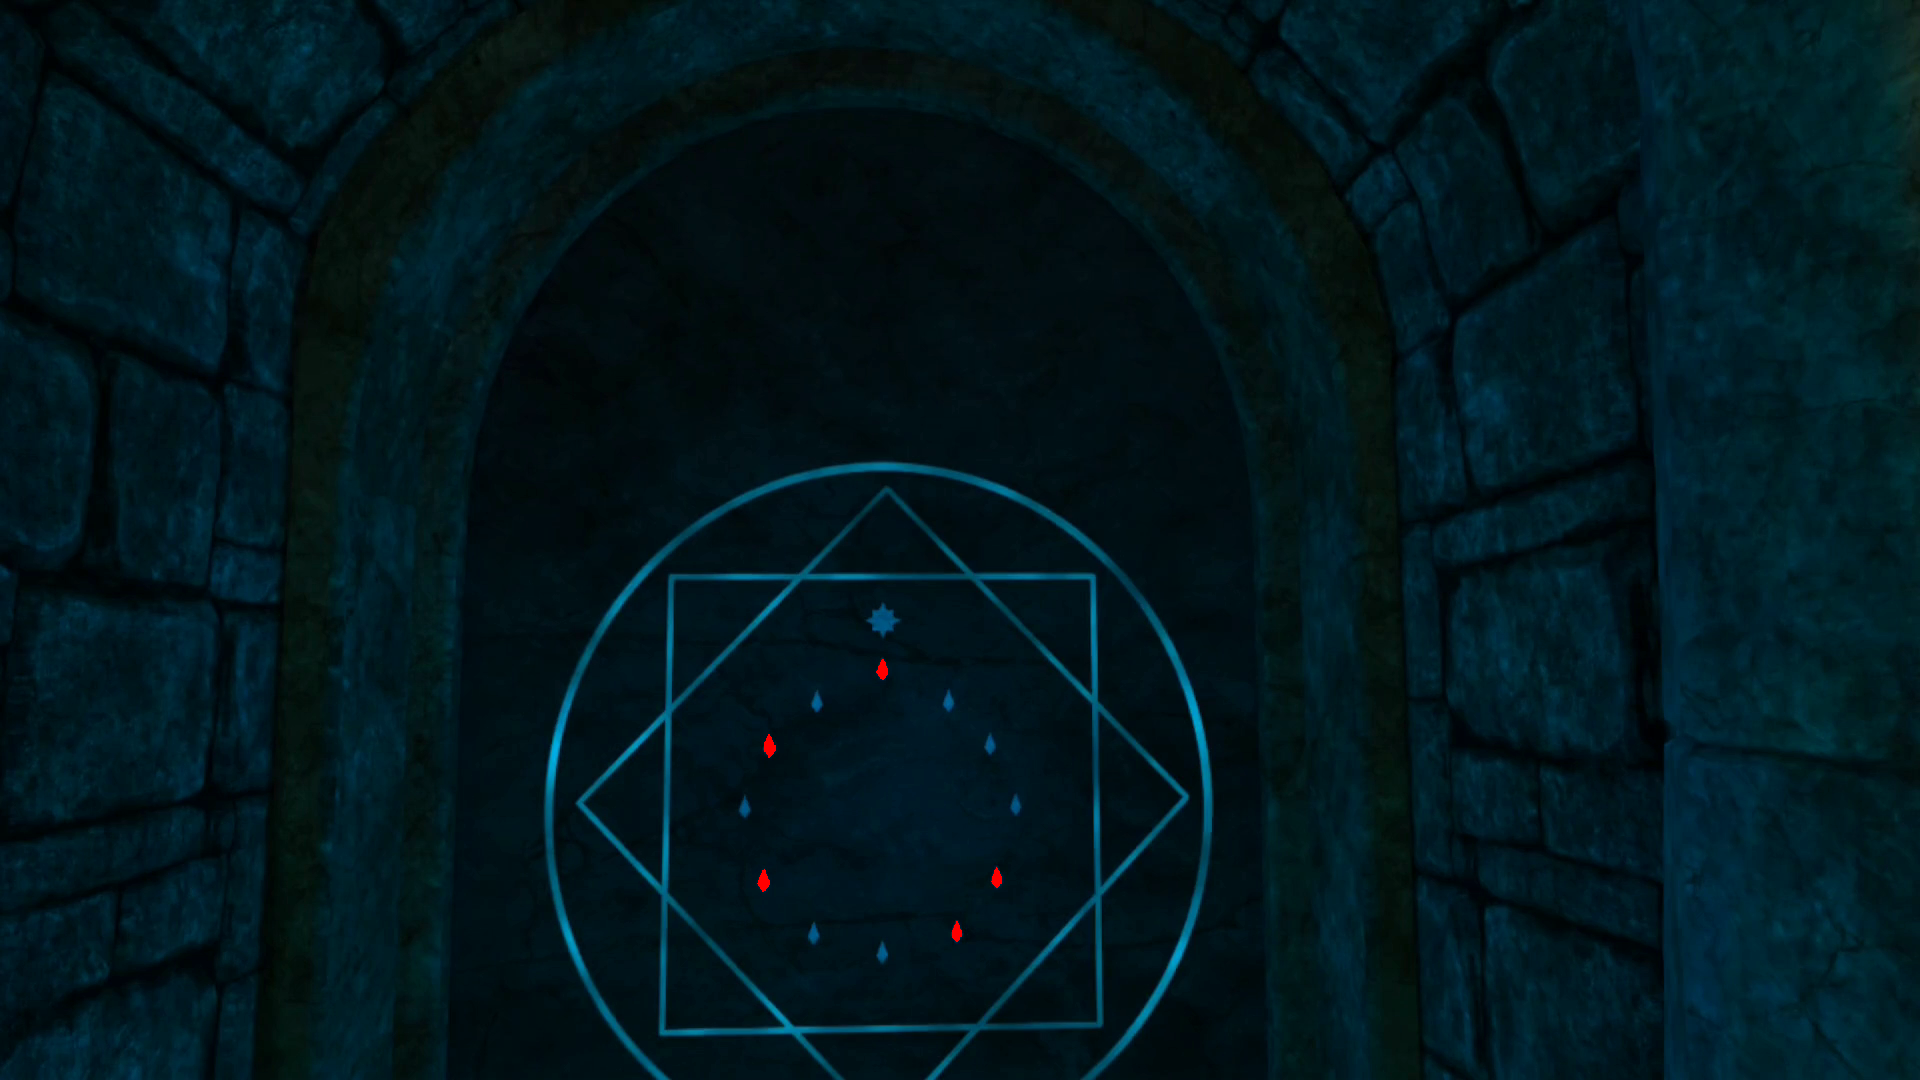
Once it's completed, the symbol will glow slightly brighter and begin making a shimmering sound. Shoot it in the center with a fireball to destroy it, which will release the dragon. Move toward the closest wall, as when the dragon crashes through the ceiling the debris will come crashing down. Move toward the portion of the floor that the debris destroyed to find a spiral stairway leading downwards. Carefully descend the stairs until you reach the bottom. face toward the doorway in the distance. Instead of heading toward it, look straight up into the air. There will be a circular star patter in the sky, with the largest star at the top of your field of view if facing the correct direction. Look at the stars that are a bit brighter and memorize their positions, then look back down and head toward the door with a matching star patter on it. Press the stars on the door that correspond with the brighter stars to open it up. One of them is not as bright as the rest, so this can be tricky. Here's the solution if you're getting frustrated:
Once past the door we're basically done. There's a long stairway leading up with a doorway leading outside. There are two landings which will have seven breakable objects of various types that all contain Gold Coins. If you've been following along you should now have all 65 coins, 30 keys, 22 potions, and 7 gems (along with their respective achievements). All you need to do now is head through the doorway to exit the mine. Head to the symbol on the ground and talk to Lakmir a final time to watch the ending of the game.