
The Alcoves
Items in this room:
Gold Coins: 6 | Keys: 2 | Potions: 5 | Gems: 2
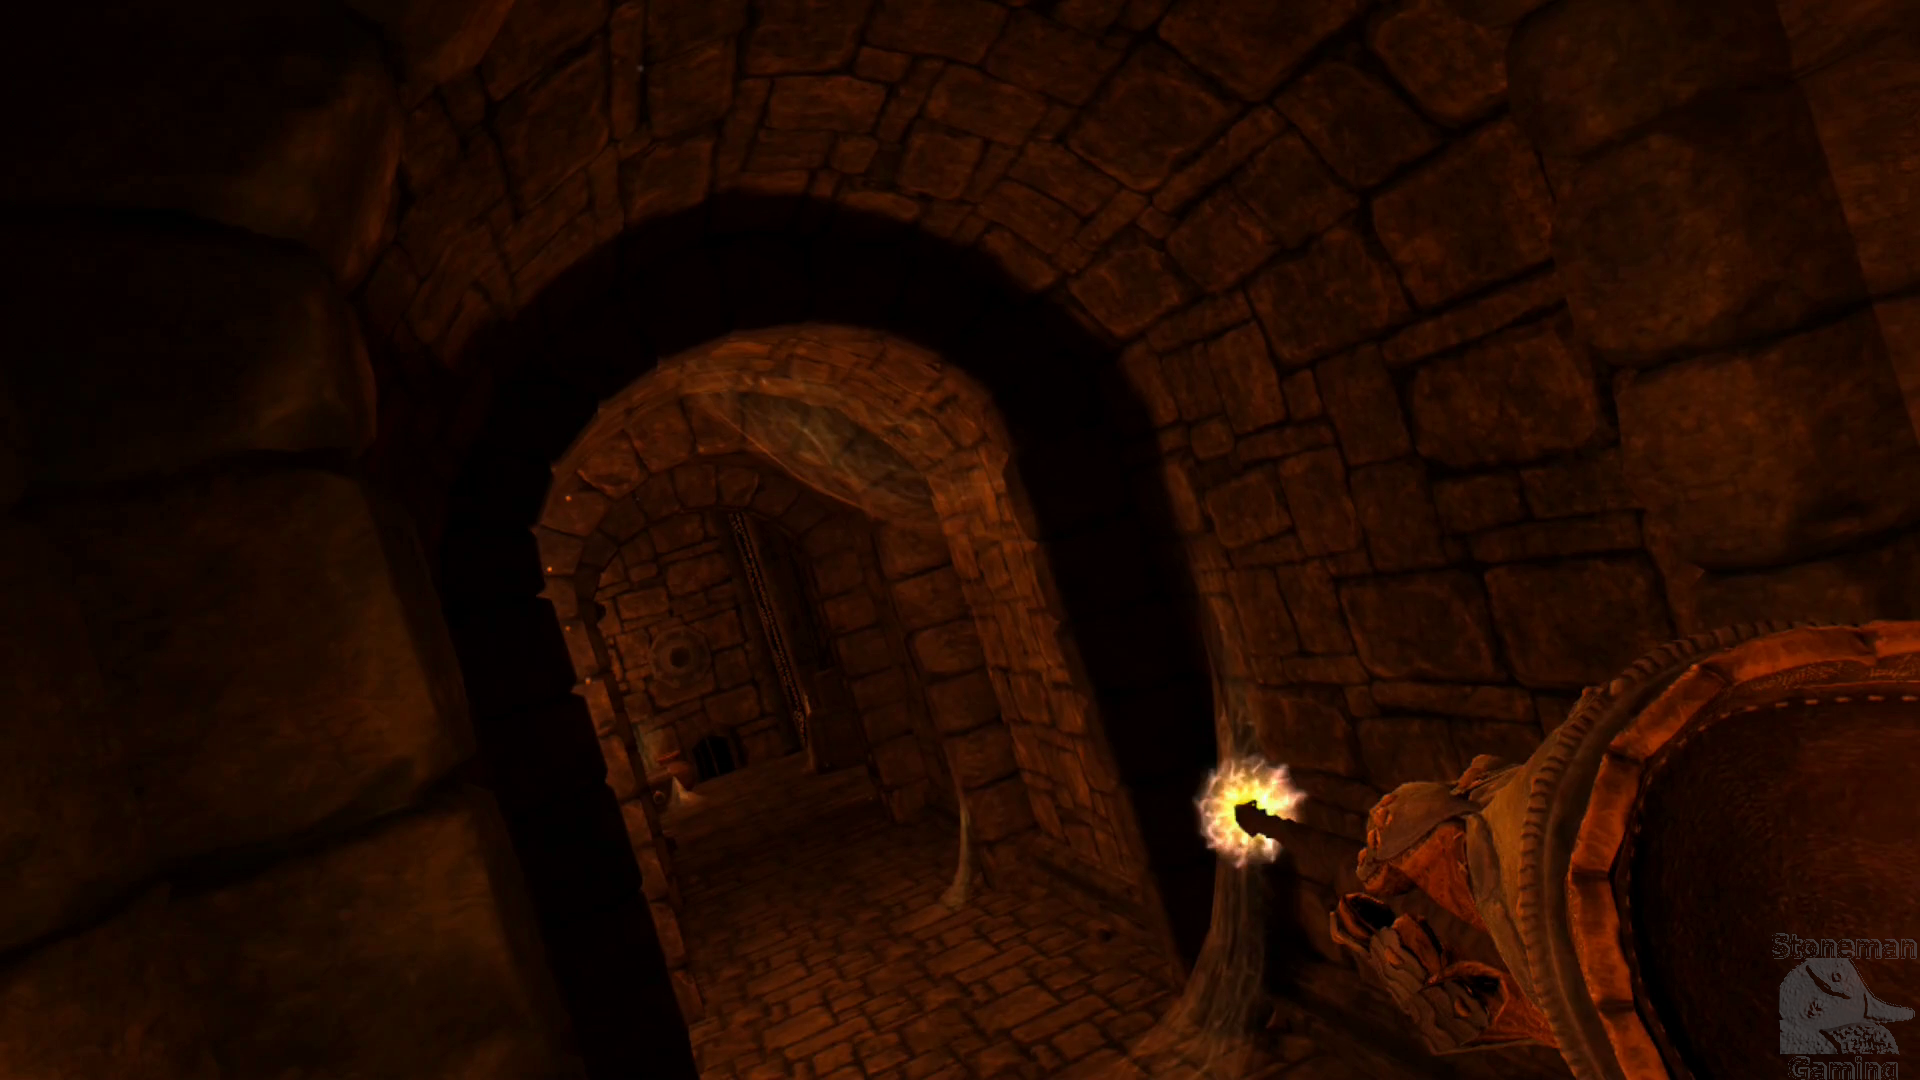
You'll find the customary Save Point upon entering the room. On the left is a floating set of Gems. These will increase the duration that your Shield will remain active, so grabbing them is highly recommended. Straight ahead is a glowing blue circle on the wall. This is what I refer to as a magic missile hallway, as the blue circle with fire some magical energy at you once you're in range. The safest way to tackle this issue with to activate your Shield before starting down the hallway.
Make your way down the hall a bit, using your Shield to block the beams if they come near you, until you reach a blue barrier on the left. There's an alcove to the right, across from the blue barrier, which you should duck into. Now that you're safe in the alcove, you can drop the Shield. Face the blue barrier and look up, then blast the Runic Plate on the ceiling to drop the blue barrier. These are different than the red ones, and will only remain off for a short time. Once the barrier drops, quickly run across the hall and past where the barrier was. On the other side you'll be attacked by a Spider, so quickly dispatch it before it can reach you.
Hard Mode
In Hard/Ironman modes, you'll be assaulted by a Medium Spider rather than a standard one. When you cross the hall and pass the blue barrier, make sure you have your Shield back up to block the web spit. Since touching the magical barriers causes death, it can be a little tricky to fend off the spider once the blue barrier turns back on. As long as you avoid getting webbed, the safest thing to do is to Dash past it by using the right stick to teleport behind the spider when it charges you. By Dashing, you'll move away from the deadly barrier, with the fun bonus of getting a hit or two on the spider's back while it figures out where you went.
Once the Spider is out of the way, you can take stock of your surroundings and notice that you're now trapped between two blue barriers. Summon Odin to the nearby pedestal and then enter Odin Vision. Straight ahead you'll be able to see a Runic Plate, and on the floor is a skull and crossbones marking. See through your own eyes again and look down at the area in front of Odin. There's a plate on the floor which is a slightly different color than the blocks around it, which is where the skull and crossbones was. Stepping on this pressure plate will drop some spikes down from the ceiling and kill you, so try to avoid stepping on it.
Looking into the alcove across from Odin, there's no visible Runic Plate where Odin spotted one. Our feathered friend's eyes do not deceive, however, so shoot the wall to reveal the hidden Runic Plate. Near where the plate is, you can also shoot the crate for some Gold Coins. Shooting the Runic Plate will lower the blue barrier that we just came through. Looking down that hall, we can see a Runic Plate along the far wall behind the chest. Quickly shoot that to lower the other blue barrier. After that second barrier drops, a Big Mouth will charge you. This is the only one that won't shoot green fire at you, so just shoot it before it can collide with you.
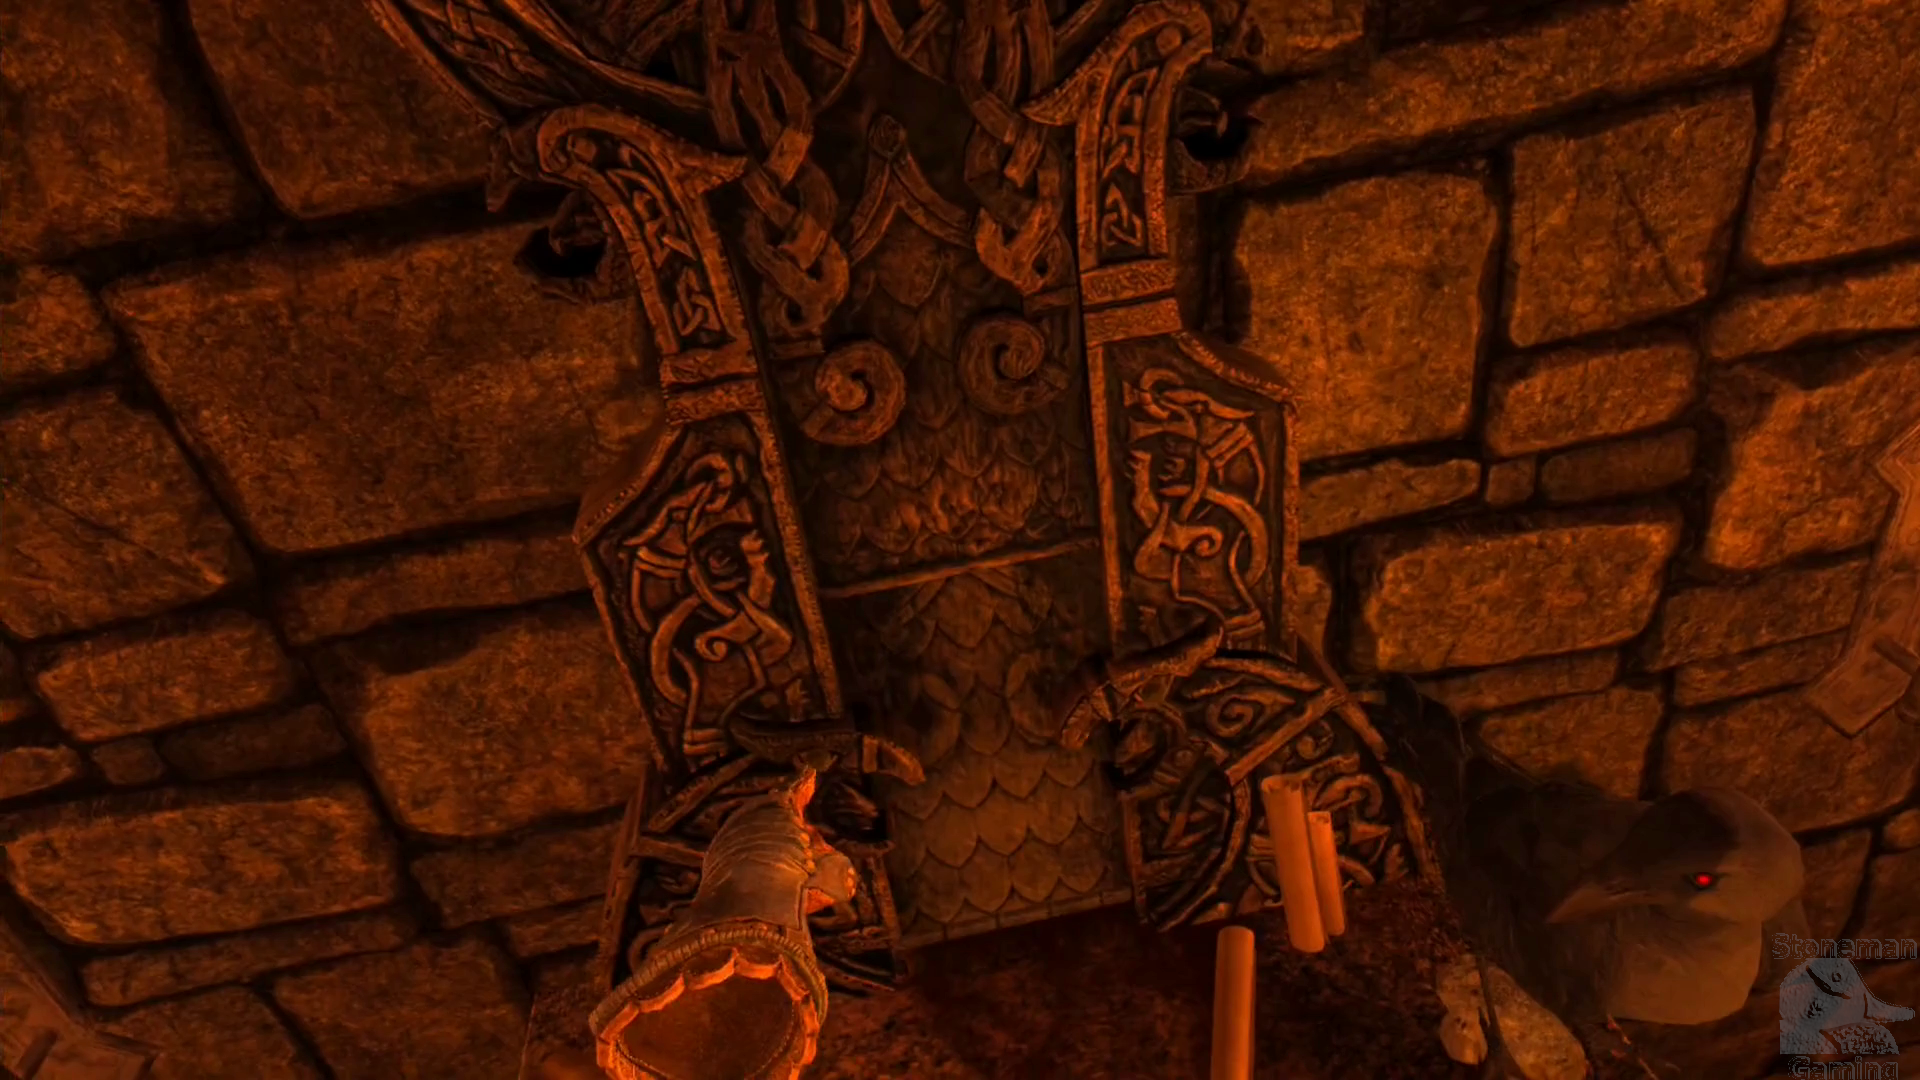
Once the enemy has been dispatched, shoot both Runic Plates again to lower both blue barriers. Make a dash past the second one to reach a Save Point. There's a perch for Odin on one side, and a large hanging tapestry on the other. Burn the tapestry across from Odin to reveal a hidden room. Move down the newly revealed stairs. At the bottom, you'll be attacked by two Spiders. Back up the stairs as you fire on them to stay safe. Once they're gone, head back down into the room.
Turn left at the bottom of the stairs and blow up the three barrels along the wall for three Gold Coins. Try to avoid hitting the pot with the lid on it, as it contains some poisonous gas that will lower your health. If you break it, just stand back until the green cloud dissipates. After you grab the coins, look in the nearby recess to spot a Red Potion. Head across the room and look into the recess behind the skeleton to find a Small Key that you can take.
Once you have those items, summon Odin and look around the room in Odin Vision. Looking left reveals a hidden chest, and looking right will highlight one of the crow's eyes in the relief he's perched on. In addition, there will be a skull and crossbones marking the two closed pots as deadly. Exit Odin's sight and blast the hidden chest to reveal it and collect a Blue Potion. Now face the relief and pick up the Rune Tablet, then press the eye of the crow on the left to open a secret compartment containing another Blue Potion and a Red Potion.
Head back up to the Save Point and turn left. I know that skeleton in the hallway to the right is enticing, but we have a couple more things to pick up first. First up, look straight up at the ceiling to spot a Runic Plate. Shoot this to deactivate all of the traps in the previous hallway -- this includes both blue barriers and the magic missiles. So now we can safely make our way straight down the hall to that chest under the Runic Plate. Open it up with the Small Key found in the hidden room to get a Purple Potion. Now make your way to the circle that formerly shot magic at you.
Once you reach the blue circle, turn right and move away from the red barrier and into the alcove. Blast the hanging tapestry on the left to reveal another Rune Tablet. If you summon Odin here, his Odin Vision will reveal an invisible Runic Plate between him and the red barrier on the ceiling (as well as a hidden chest on the other side of the barrier). Shoot at the ceiling in that area to reveal the plate, and then shoot the plate to deactivate the red barrier.
Once the barrier's down, head into the alcove that it was blocking. Grab the Large Key from the box, then shoot the green jar to the right and the hidden chest to the left for two more sets of Gold Coins. All that in hand, head back to the Save Point near the hidden room. Head past it into the next area, but don't go running across the odd looking floor just yet. The next area consists of long stretches of floor with small holes. Stepping on certain areas of the floor will cause spikes to rise out a stab you in the feet. This isn't instant death, but it'll drain a few points of HP so this scenario is best avoided. Before venturing forth, use Odin Vision to reveal the dangers part of the floor. Once you know where it's safe to step, you can either walk or Dash across to the end.
Upon reaching the safe strip of land, two Big Mouths will rise from the depths and attack you. Use your Shield to block their green fire, and zap them with your Wand to dispatch them. After the beasts are defeated, turn your attention to the pillar nearby. There's a small square hole on the lower part. Place one of the Rune Tablets in that slot. This will cause another section of floor to rise up.
Once more, summon Odin and get a good look at where the safe path is. Cross to the next pillar, and you'll be confronted by two more Big Mouths, so take them out as well. Place the other Rune Tablet into this pillar to cause the rest of the floor to rise. Before you leave the area, fire your Wand at the gap to the right of the pillar to uncover a hidden chest containing some Gems.
That's basically it for this room. The only thing left to do is use Odin to find the remaining danger zones, and then unlock and head through the exit door.